
If you own a freeze dryer, you must understand the importance of maintaining its components to ensure optimal performance. A critical element of a Freeze dryer is the vacuum gauge, which plays the most crucial role in fridge drying. With time, the vacuum gas tube may become damaged or wear out and need replacement. Just note the materials that are required for the replacement of the vacuum gauge tube.
- New vacuum gas tube
- Screwdriver
- Wrench
- Teflon tape
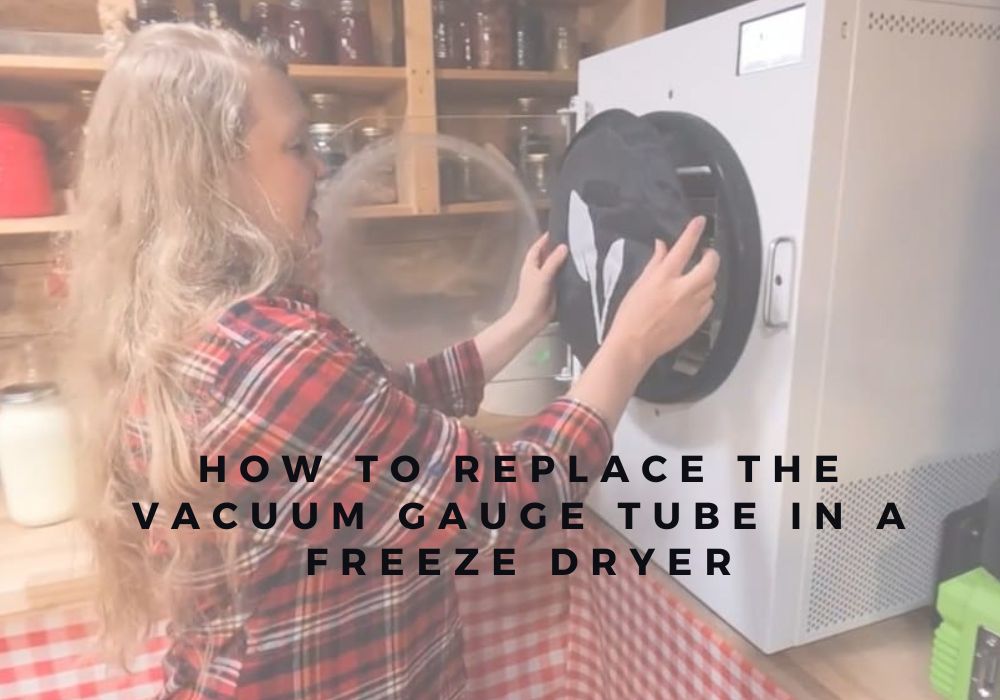
Before starting maintenance on your phrase dryer, ensure it is powered off and unplugged. Safety should be a top priority when you are working with electrical equipment. After that, look at the vacuum gauge and the tube connecting to the freeze dryer. The lines are made up of flexible materials like plastic or rubber.
Process of replacing the vacuum gauge tube
- Open the screws on the side shell of the freeze dryer and remove the side shell of the freeze dryer carefully.
- After that, remove the vacuum gauge tube and replace it with the new vacuum gauge tube.
- Carefully tighten the screws, and you can also apply that Epsilon tape on it so that it works efficiently afterward. After that, close the side shell of the freeze dryers carefully, and your freeze dryer is ready.
- Inspect all the connections to confirm that there are no loose parts or potential issues. If necessary, you can make adjustments to ensure the stability of the vacuum gauge tube.
Regular maintenance, like replacing the vacuum gauge tube ensures the efficiency and longevity of your appliance and allows you to continue enjoying the benefits of freeze-drying for years to come. If you need help during the process, consult your freeze dryer’s user manual or seek professional assistance.